
The Trick to Bleeding Your Brakes Without Making a Mess
Bleeding your brakes can be tricky if you’re trying to keep things clean. However, it is an essential maintenance task that needs to be done to ensure your brakes are responsive and you stay safe on the road. That said, it is possible to do without making a huge mess. Here’s how.
1. Gather the Right Tools First
Having the proper tools on hand is the first step to avoiding a mess when bleeding your brakes. You’ll need a brake bleeder kit, a clear hose, a catch bottle, and the correct type of brake fluid for your vehicle. A wrench that fits your bleeder screws is also essential for a smooth process. The clear hose allows you to monitor the fluid for air bubbles, helping you see when the job is done. Laying down absorbent mats or old towels under the brake lines can prevent spills from hitting your garage floor.
2. Elevate and Secure Your Vehicle Properly
To bleed your brakes without a mess, you need your vehicle lifted securely on jack stands. Raising all four corners of the car ensures an even flow of brake fluid when you start bleeding each caliper. Make sure to loosen the lug nuts slightly before jacking up the vehicle, and always use jack stands—never rely solely on a jack. Removing all four wheels gives you easy access to the bleeder screws and prevents brake fluid from splashing onto your tires
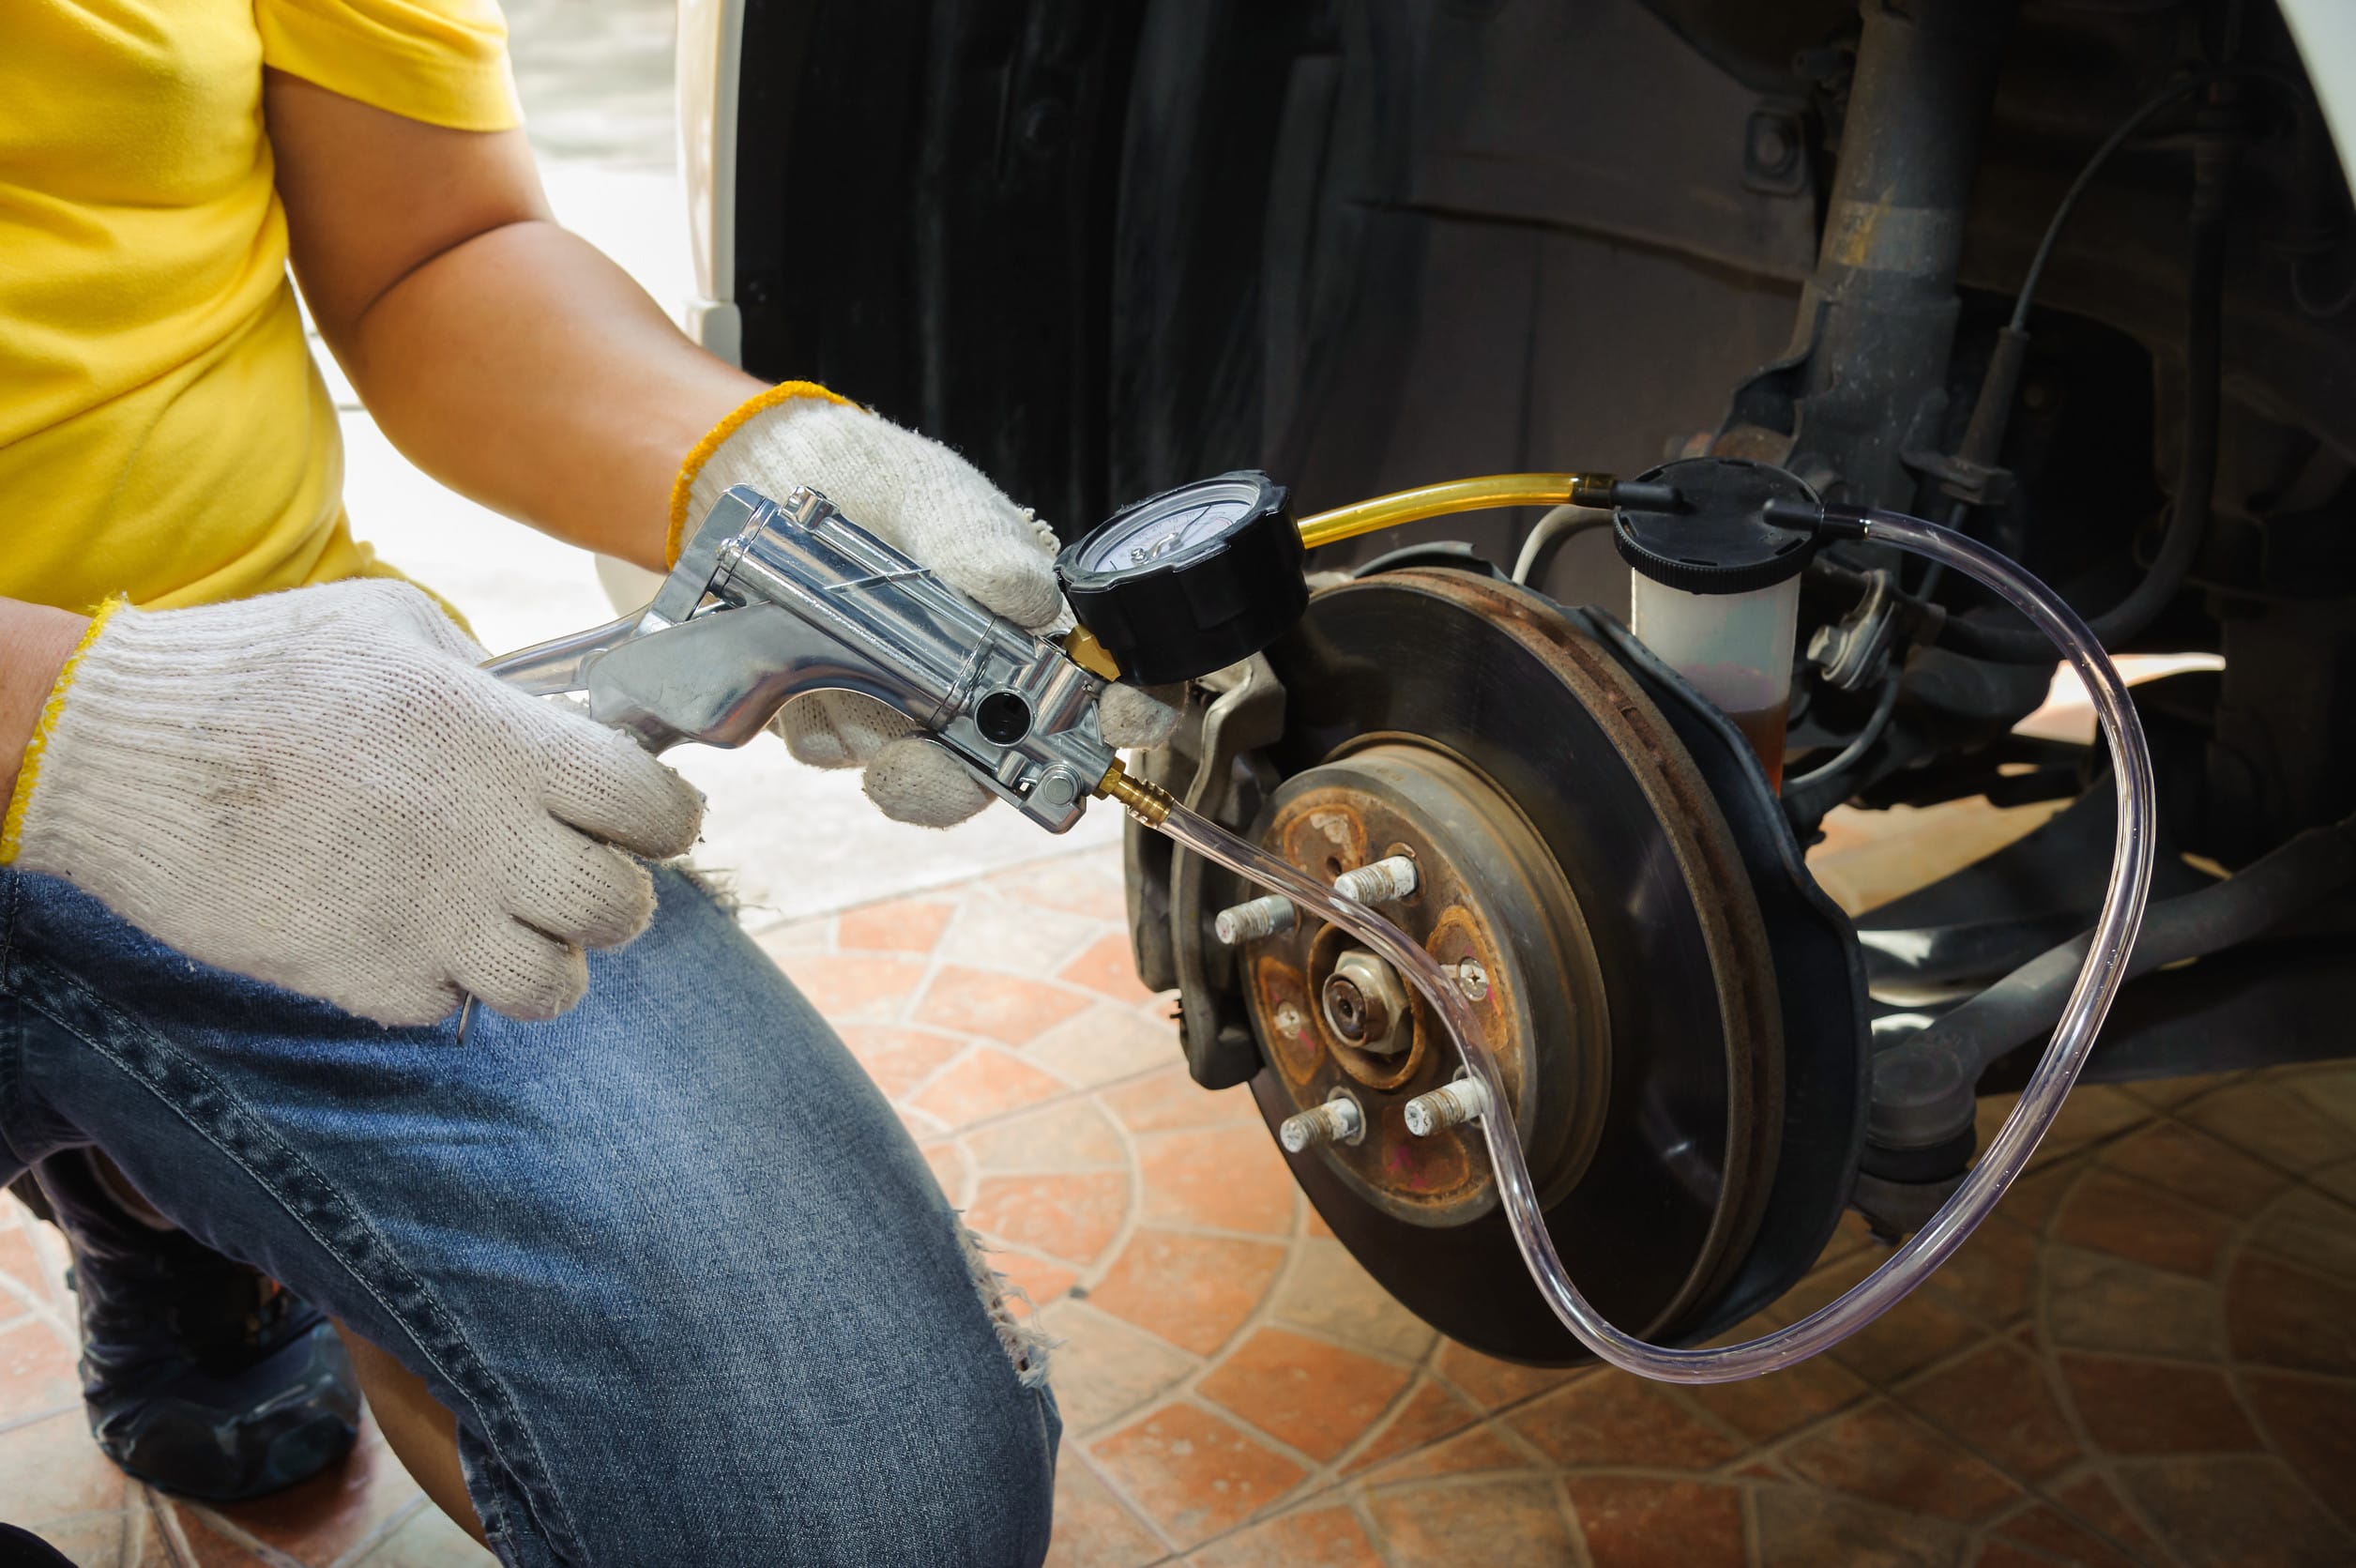
3. Use a Vacuum or Pressure Bleeder for Less Mess
Manual bleeding can be messy and time-consuming, but a vacuum or pressure bleeder simplifies the process. Vacuum bleeders draw fluid through the lines without needing a second person to pump the brake pedal, minimizing spills. Attach the vacuum bleeder to the bleeder screw with a clear hose and catch bottle to collect old brake fluid neatly. Pressure bleeders, on the other hand, push fluid through the system by attaching to the master cylinder, making the job quicker and cleaner.
4. Start with the Furthest Brake Caliper
Bleeding the brakes in the correct order prevents air pockets and ensures a smooth, mess-free process. Always start with the brake caliper furthest from the master cylinder, typically the rear passenger side. Moving systematically to the next furthest caliper helps push air and old fluid out efficiently. Keep an eye on the master cylinder’s fluid level, topping it off as needed to prevent air from entering the system.
5. Control Brake Fluid with a Catch Bottle and Hose
Brake fluid is corrosive and can damage paint, so controlling it is crucial for a mess-free job. A catch bottle connected to a clear hose prevents fluid from dripping onto your vehicle or garage floor. Choose a bottle with a built-in check valve to stop air from being drawn back into the brake lines. Keep the hose submerged in brake fluid inside the bottle to prevent air from being sucked back in. Secure the hose tightly to the bleeder screw to avoid leaks and drips.
6. Dispose of Old Brake Fluid Responsibly
Proper disposal of old brake fluid is the final step in a clean brake bleeding process. Brake fluid is toxic and should never be poured down the drain or thrown in the trash. Many auto parts stores accept used brake fluid for recycling, making it easy to dispose of responsibly. Seal the old fluid in a container and label it clearly to avoid accidental spills. Cleaning up any residual drips or spills immediately with brake cleaner prevents damage to your garage floor or vehicle.
Keep It Clean and Safe
You don’t have to make a gigantic mess if you want to bleed your brakes on your own. You just need the right tools and techniques in your pocket. Also, a little preparation goes a long way. Ultimately, you can finish this maintenance task without spills or complications by following the right order of things. I always recommend checking YouTube for video walkthroughs, which can help make the process even smoother.
Read More
The 9 Most Overlooked Home Maintenance Tasks That Will Cost You Later
5 Reasons Your Headlights Keep Dimming—And What It Means for Your Battery