
Simple Instructions: 5 Simple Steps To Changing The Battery In Your Smoke Detector
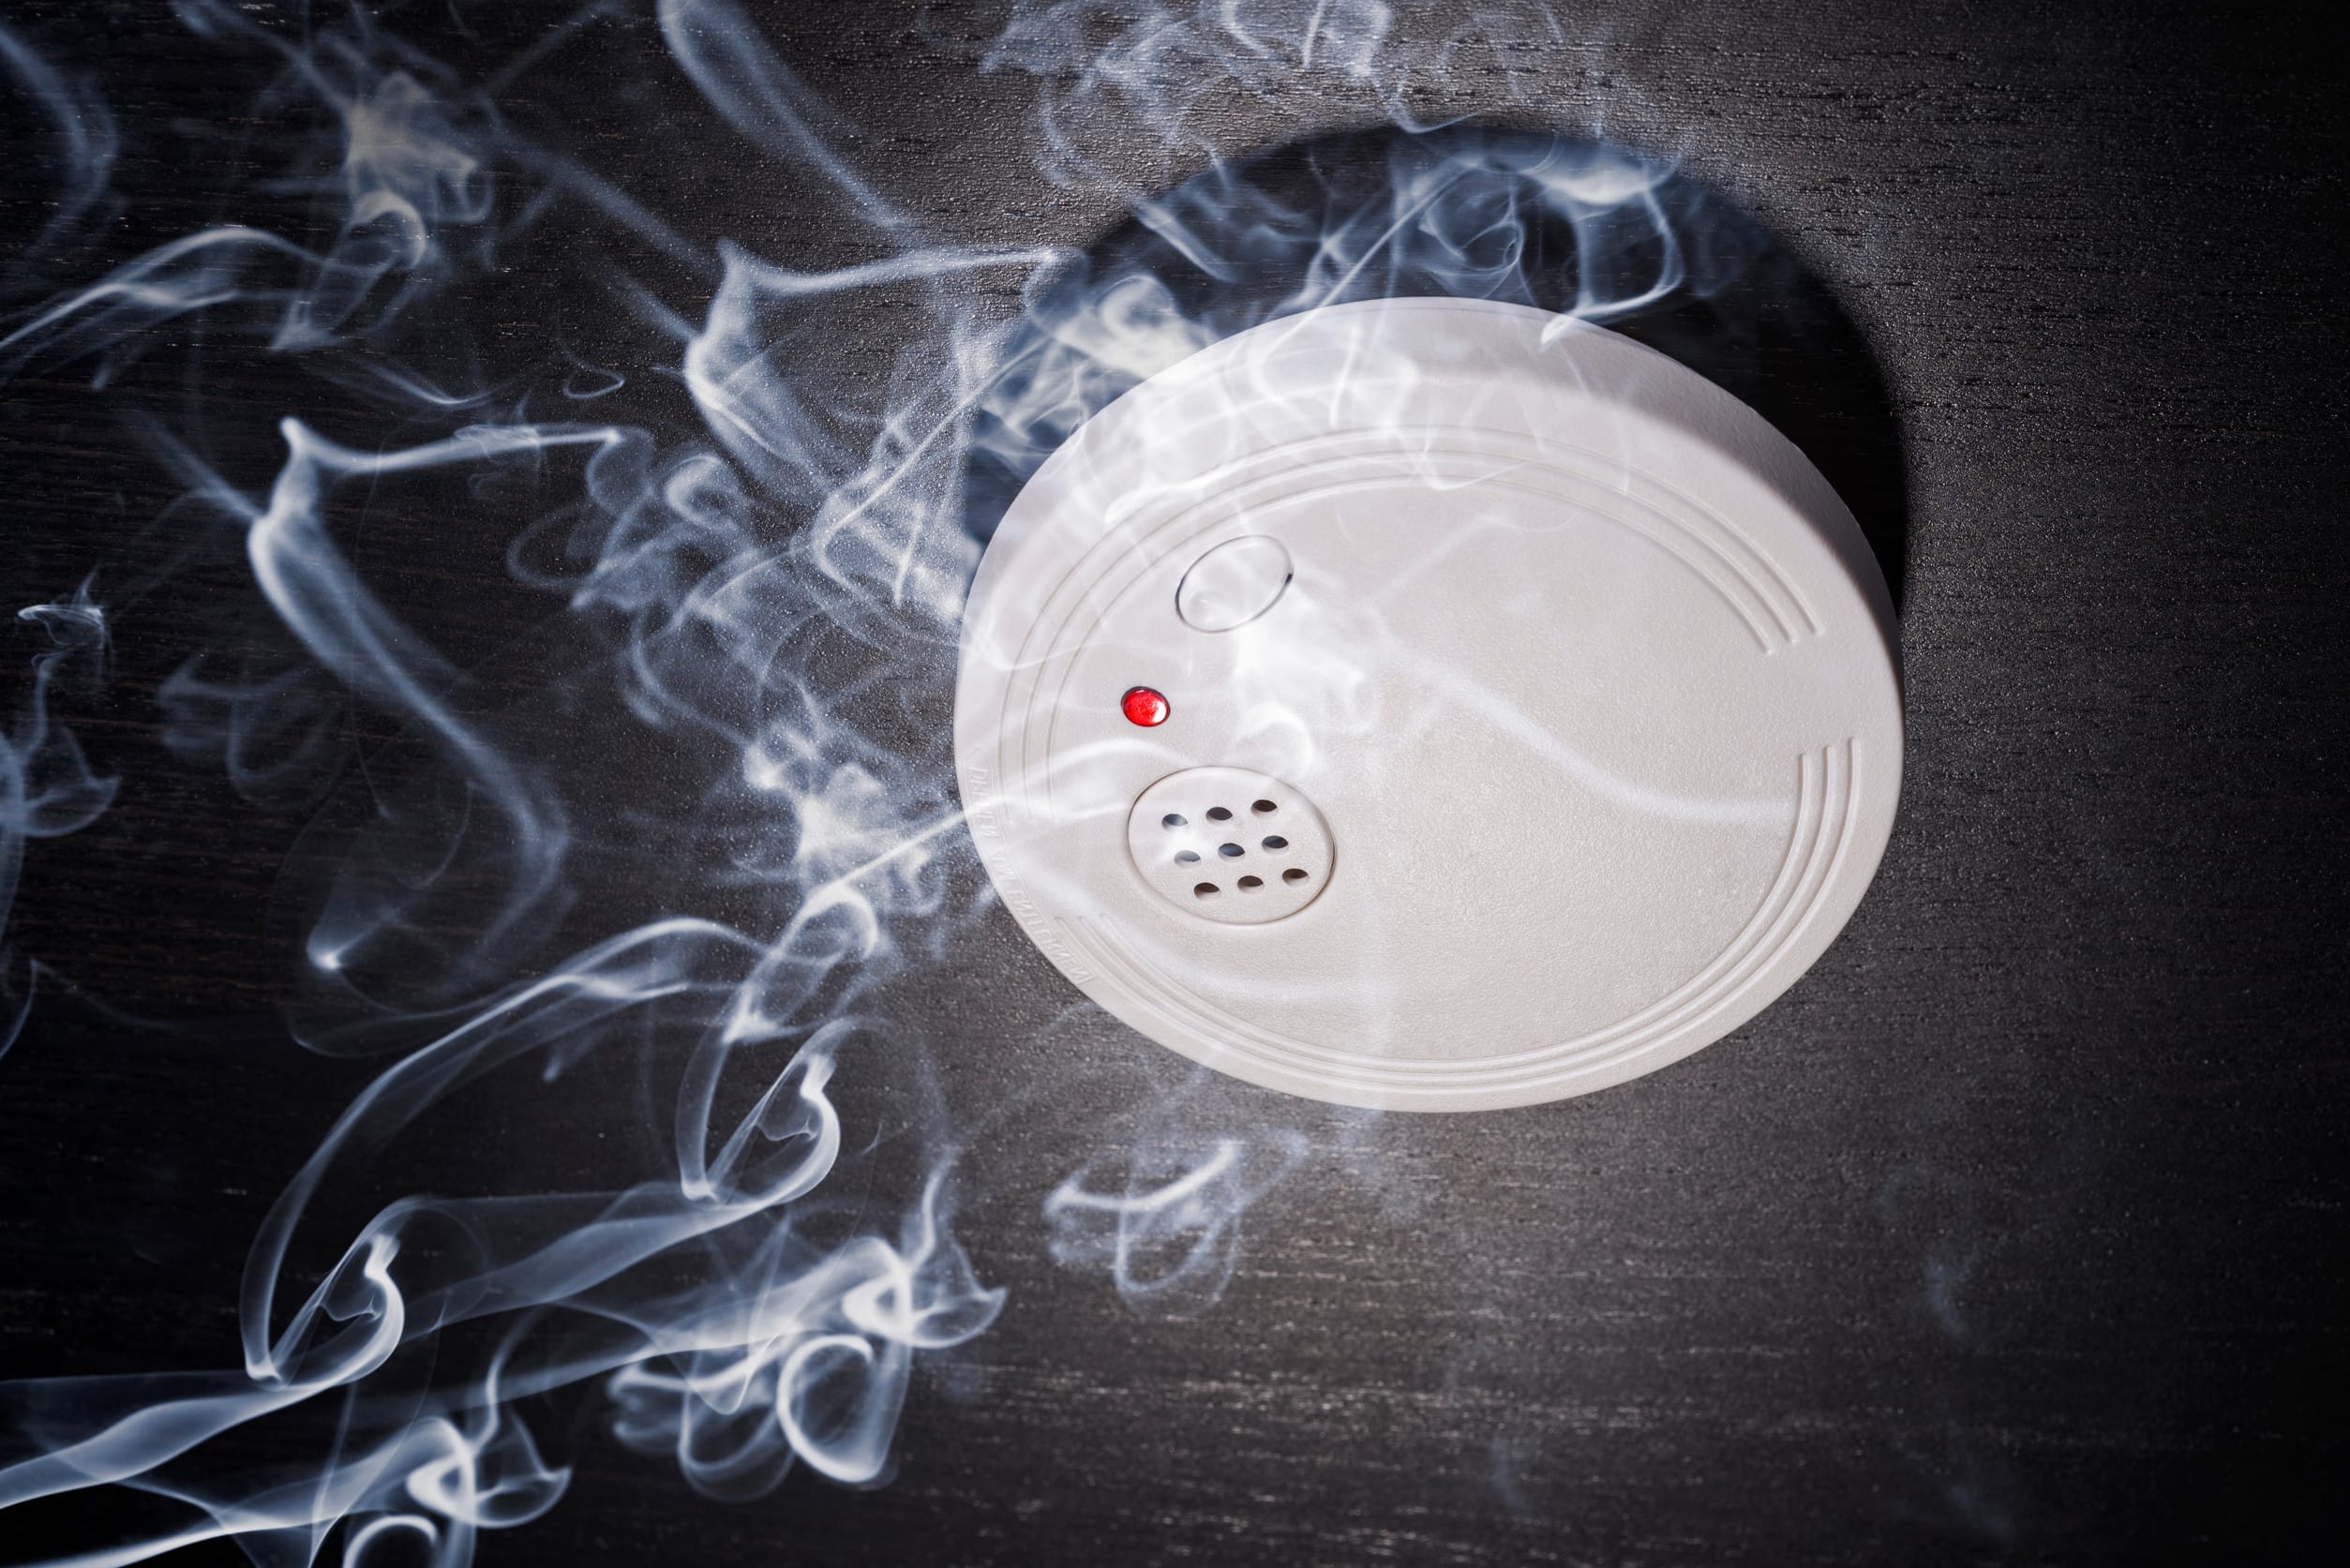
Keeping your home safe doesn’t have to be complicated, but it requires little attention to detail. One of the simplest yet most important tasks you can do is to change the battery in your smoke detector. This small act can make a huge difference, potentially saving lives by ensuring your smoke detector is always ready to alert you in case of fire. Many people forget or put off this task, but a working smoke detector is your first line of defense against fire hazards. If you’ve ever been startled awake by a chirping smoke detector in the middle of the night, you know how annoying—and important—this reminder can be. Let’s break down the process into five simple steps so you can keep your home and loved ones protected with minimal hassle.
1. Gather Your Supplies
Before you start, make sure you have everything you need to change the battery in your smoke detector. Most smoke detectors use 9-volt batteries, but some models require AA or AAA batteries. Check your smoke detector’s manual or look at the existing battery to confirm the type. You’ll also need a sturdy step stool or ladder to safely reach the detector, especially if it’s mounted on the ceiling. Having a small screwdriver on hand can be helpful, as some smoke detectors have a screw securing the battery compartment. Gathering your supplies ahead of time will make the process smoother and avoid unnecessary trips up and down the ladder.
2. Remove the Smoke Detector
Once you’re ready, carefully climb your step stool or ladder and locate the smoke detector. Most models either twist off from the mounting bracket or have a small tab you press to release them. Gently remove the smoke detector from its base, being mindful not to damage any wires if your unit is hardwired into your home’s electrical system. If your smoke detector is hardwired, you’ll see a set of wires connected to the back. Don’t worry—you don’t need to disconnect these to change the battery. Just let the detector hang down gently while you access the battery compartment. Taking your time here helps prevent accidental damage and keeps the process safe.
3. Open the Battery Compartment and Replace the Battery
With the smoke detector in hand, locate the battery compartment. This is usually on the back or side of the unit. Some compartments have a small latch or require a screwdriver to open. Once open, remove the old battery and dispose of it properly—never throw batteries in the regular trash, as they can be hazardous to the environment. Insert the new battery, making sure the positive and negative terminals align correctly. Most smoke detectors will not close properly if the battery is inserted the wrong way, so double-check before moving on. This step is crucial, as a fresh battery ensures your smoke detector will function correctly and provide the protection you need.
4. Test the Smoke Detector
After replacing the battery, it’s time to make sure your smoke detector is working. Press and hold the test button on the front of the unit. You should hear a loud, piercing alarm—this means the battery is installed correctly and the detector is functioning. If you don’t hear anything, double-check the battery placement and try again. Testing your smoke detector is a step you should never skip, as it confirms that your efforts have paid off and your home is protected. The National Fire Protection Association recommends testing your smoke detectors monthly, so consider making this a regular habit.
5. Reinstall the Smoke Detector and Set a Reminder
Once you’ve confirmed the smoke detector is working, carefully reattach it to its mounting bracket. Make sure it’s secure and flush against the ceiling or wall. If your unit is hardwired, ensure the wires are not pinched or strained. After reinstalling, take a moment to set a reminder for your next battery change. Most experts recommend changing smoke detector batteries at least once a year, but checking them every six months—such as when you change your clocks for daylight saving time—can provide extra peace of mind. Setting a calendar reminder or using a smart home app can help you stay on top of this important task.
Protecting Your Home Starts With Simple Steps
Changing the battery in your smoke detector is a quick, straightforward task that pays off in safety and peace of mind. By following these five simple steps, you ensure your smoke detector is always ready to alert you in case of danger. Remember, a working smoke detector can double your chances of surviving a house fire, making this small maintenance job one of the most valuable things you can do for your household. Don’t wait for the annoying chirp—take action today and make battery changes a regular part of your home safety routine.
What’s your experience with changing smoke detector batteries? Do you have any tips or stories to share? Let us know in the comments!
Read More
Fixing Your Money Mistakes: Create a Budget
Related Posts
-

There are certain car parts you never think about until they fail spectacularly—like the battery…
-

I'm a little way away from turning 60, but my wife and I have both…
-

Every year, I ask my wife what she wants for Christmas, and I feel like…
-

If your car is overheating, it's more than just a minor inconvenience. It can cause…
-

Online shopping popularity has exploded in recent years, and that's before the COVID-19 pandemic.…
-

Sleep apnea is often thought of as a men’s health issue, but it affects women…
